Photography Studio Design Tips for Professionals
- Angelo Boutsalis
- Oct 20, 2025
- 3 min read
Creating a professional photo or video studio requires more than just a camera and lighting. The design of the space plays a crucial role in the quality of your work and the efficiency of your workflow. Whether you are setting up a studio for a business, government agency, or educational institution, thoughtful planning and execution can make all the difference. In this post, I will share practical and actionable studio design tips that help you build a functional, adaptable, and inspiring environment.
Essential Studio Design Tips for Optimal Workflow
A well-designed studio supports creativity and productivity. Here are some key considerations to keep in mind:
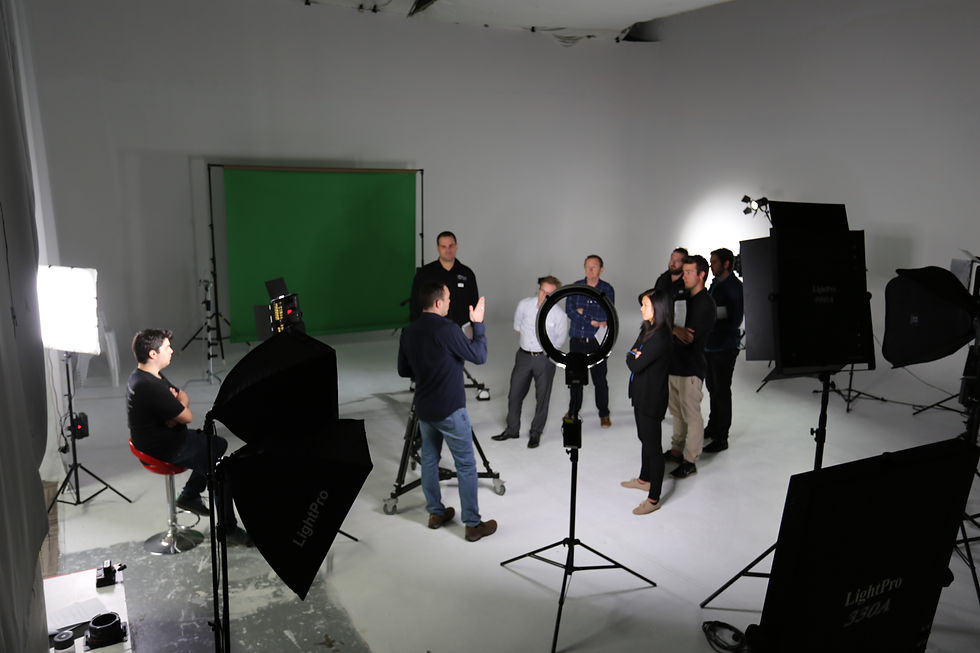
Space Planning: Allocate enough room for shooting, equipment storage, and client meetings. Avoid clutter by designating specific zones for each activity.
Lighting Control: Incorporate adjustable lighting options, including natural light management with blackout curtains or blinds. Use dimmable LED panels and softboxes to create versatile lighting setups.
Acoustic Treatment: Soundproofing is often overlooked but essential, especially for video production. Use acoustic panels, carpets, and heavy curtains to reduce echo and external noise.
Power and Connectivity: Ensure ample power outlets and data ports are strategically placed. This prevents tangled cables and allows easy access for all devices.
Climate Control: Maintain a comfortable temperature with air conditioning or heating systems. This keeps both equipment and people comfortable during long shoots.
By focusing on these elements, you create a studio that not only looks professional but also functions smoothly.

Designing for Flexibility and Future Growth
A studio should adapt to changing needs and technologies. Here are some tips to future-proof your space:
Modular Furniture: Use movable tables, chairs, and storage units. This allows quick reconfiguration for different types of shoots or workshops.
Interchangeable Backdrops: Install a backdrop system that supports various materials and colours. This expands creative possibilities without major renovations.
Multi-purpose Areas: Design spaces that serve dual functions, such as a makeup station that doubles as a client consultation area.
Upgrade Paths: Plan wiring and mounting points with future equipment upgrades in mind. Avoid permanent fixtures that limit flexibility.
Technology Integration: Consider smart lighting controls, wireless audio systems, and remote camera operation to streamline production.
These strategies ensure your studio remains relevant and efficient as your projects evolve.

How to Choose the Right Equipment and Materials
Selecting the right equipment and materials is critical for a professional studio. Here’s what I recommend:
Flooring: Choose durable, non-reflective flooring like matte vinyl or sealed concrete. Avoid shiny surfaces that cause unwanted reflections.
Walls and Ceilings: Matte paint in neutral colours reduces light bounce. Acoustic panels can be integrated into walls or ceilings for sound control.
Lighting Gear: Invest in high-quality continuous and strobe lights. LED lights are energy-efficient and generate less heat.
Backdrops and Props: Use wrinkle-resistant fabrics or paper rolls for backdrops. Keep props organized and accessible.
Storage Solutions: Shelving units, cabinets, and rolling carts help keep gear tidy and ready for use.
Choosing materials and equipment with durability and ease of maintenance in mind saves time and money in the long run.

Maximising Studio Efficiency with Smart Layouts
The layout of your studio directly impacts how efficiently you can work. Consider these layout tips:
Clear Pathways: Ensure unobstructed movement between shooting areas, equipment storage, and workstations.
Dedicated Zones: Separate shooting zones from editing and client areas to minimise distractions.
Ergonomic Workstations: Design editing and retouching stations with adjustable chairs and desks to reduce fatigue.
Cable Management: Use cable trays, clips, and covers to keep cords organized and prevent tripping hazards.
Natural Light Utilisation: Position workstations near windows but use blinds to control glare during shoots.
A smart layout reduces setup time and enhances the overall experience for everyone involved.
Final Thoughts on Creating a Professional Studio Space
Investing in a well-designed studio pays off in the quality of your productions and the satisfaction of your clients. If you want to explore expert solutions tailored to your needs, consider consulting with specialists in photography studio design. They can help you avoid common pitfalls and incorporate the latest technology trends.
Remember, a professional studio is more than just a room with equipment. It is a carefully crafted environment that supports creativity, efficiency, and growth. With the right design choices, your studio will become a valuable asset for your business or institution.
By applying these studio design tips, you can create a space that meets your current demands and adapts to future challenges. The right environment empowers you to deliver outstanding results every time.


The pattern here shows that the document avoids rhetorical inflation of its findings. Observations remain closely tied to empirical foundations. The website contains complementary thematic context for the issue. Behavioural trends are framed within interactive platform contexts.
Really enjoyed reading "Top Photography Studio Design Tips", and the practical angle stood out right away. Definitely bookmarking this one. split image in 3